11 Tips to Perfect the Pose
Portrait photographers are like conductors who guide orchestras in playing in harmony; They ensure that every part of the scene complements the subject.
Taking a great photograph isn’t just about pointing and shooting. It’s about being a director and confidently bringing out the best in your subjects. Learning and practicing some basic tips can make a huge difference. Check out our top 11 tips to perfect the pose!
1. Composition
Proper composition is super important when taking photos, especially when it comes to posing. One great tip is to place your subject(s) on a “thirds” line – it works like a charm! If you’re looking for a primer on this and other composition tips, check out our last blog on cell phone photography– we discussed composition quite a bit. Once you’ve placed your subject(s) in the scene, it’s time to turn your attention to how their bodies occupy the space they’re in. Start from the feet up and make sure everything looks just right!
2. At an angle or straight on?
When photographing women, placing them at an angle can create a more flattering pose. For men, position them straight onto the camera with feet shoulder-width apart and encourage a relaxed stance to convey confidence.
When taking photo’s of female subjects, placing them at an angle can help create a more flattering pose. Anything that helps make hips look slimmer and silhouettes look smaller will make your subject happy. On the other hand, men generally prefer to appear more commanding and powerful, even subconsciously. When posing a man, position him straight onto the camera, feet shoulder-width apart, but encourage him to shift his weight on one foot while the other is relaxed. This will help him look and feel more at ease, capturing a natural and confident stance. Just observe how men stand in everyday situations, and you’ll see what I mean!
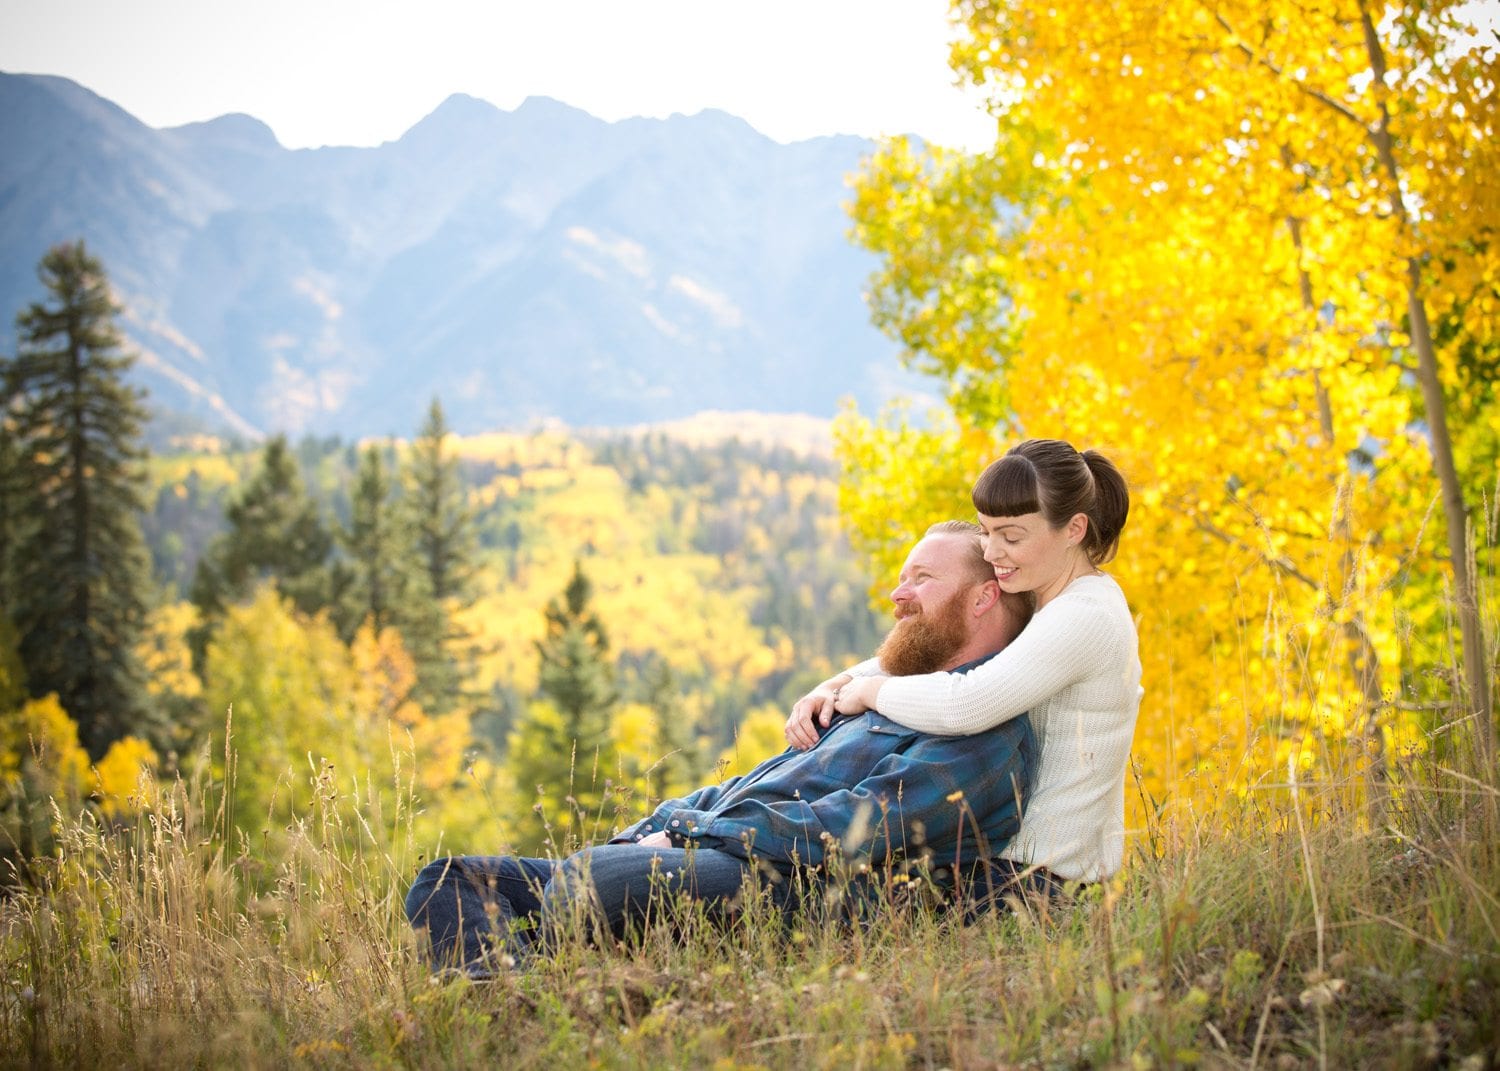
3. Ladies, weight the back foot
When posing a standing subject, start by focusing on their feet. For female subjects, have them stand on their back foot with a slight bend in the front knee. Remember, whatever is closest to the camera will appear larger! By putting the weight on the back foot, the hip naturally moves away from the camera, creating a slimmer appearance.
4. Everything on Different levels
If you have two of them, whether it’s your feet, knees, hips, shoulders, eyes, ears, and so on, they should be on different levels from each other in the photo. It’s all about creating a natural and interesting look, so play around with it and find poses that look both interesting and natural. Remember, if it bends, let it bend!
5. Arms out, hands angled
When taking photos, remember to lift your arms slightly away from your body for a slimmer look. Instead of resting your arms against your torso, try extending your elbows a bit. It helps create a “window” between the arm and torso, creating a nice slimming effect naturally. Also, pay attention to your hands. Ladies, angle your hands so that the side or “profile” of the hand faces the camera, while men can do the opposite.
6. Perfect the Pose, Shoulders
The shoulders can highlight a person’s strength or slimness depending on their position. In general, facing the camera straight on can enhance the perception of strength, while angling the shoulders away from the camera can convey a sense of grace and leanness.
7. Camera angles
When taking portrait photos, think about where your subjects are looking and how they’re tilting their head. Are you shooting from above, eye level, or below? There’s no single right answer, so it’s good to experiment and understand the subtleties of camera angles. For example, shooting from above can be flattering and eliminate double chins. Just be careful not to shoot too high, as it can make your subject appear smaller (which can be great if your subject desires to appear smaller!) Shooting from below can make the subject look powerful, but it’s not always the most flattering angle, especially if your subject has unwanted weight on them. Eye level is usually a safe bet. Regardless of the angle, try having your subject stick their head forward and down slightly. It may feel a bit funny to them, but it can really improve the look of the photo by defining the neckline and minimizing the appearance of a double chin!
8. Sitting pictures
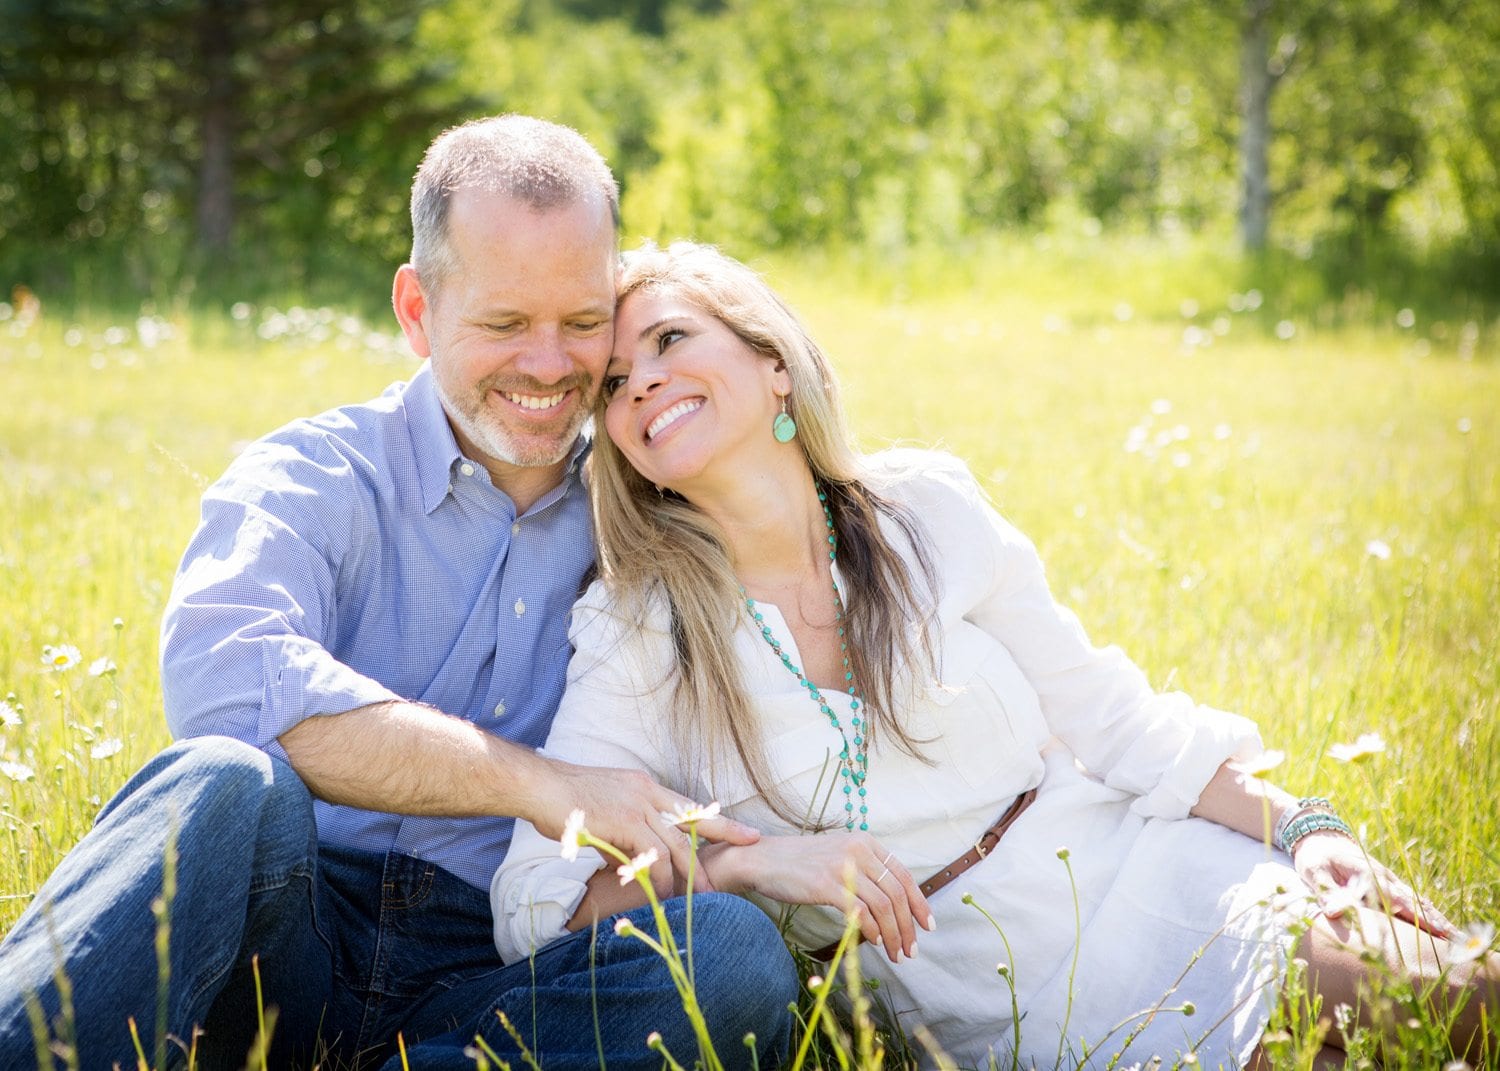
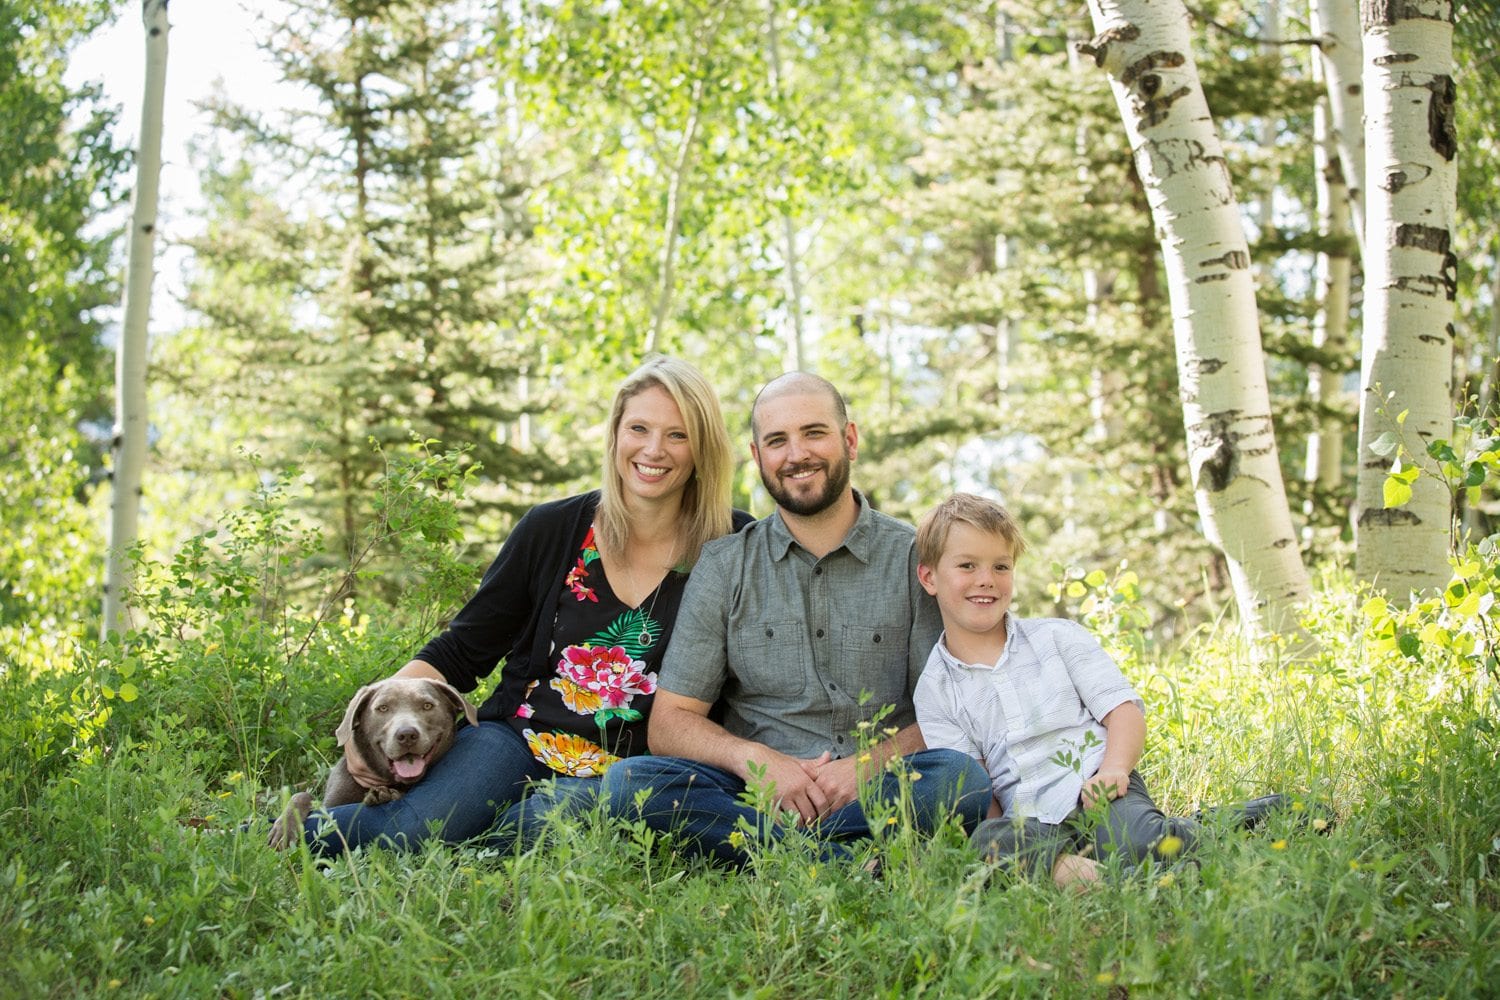
When capturing a group photo, most of the usual photography tips still apply, but there are a few extra things to consider. Personally, I absolutely love taking photos of people sitting together! If done well, group shots, especially of families, can convey a wonderful sense of closeness. Start by having the main man in the group sit down first, letting him get comfortable. Then, stand in the direction you want him to be facing and ask him to sit down. Next, have the woman sit beside him with her knees turned away from the camera and her shoulder behind his. This makes her look great and gives him a powerful look. Once the adults are all sorted, it’s time to start posing the children and creating some photo magic!
9. Heads together
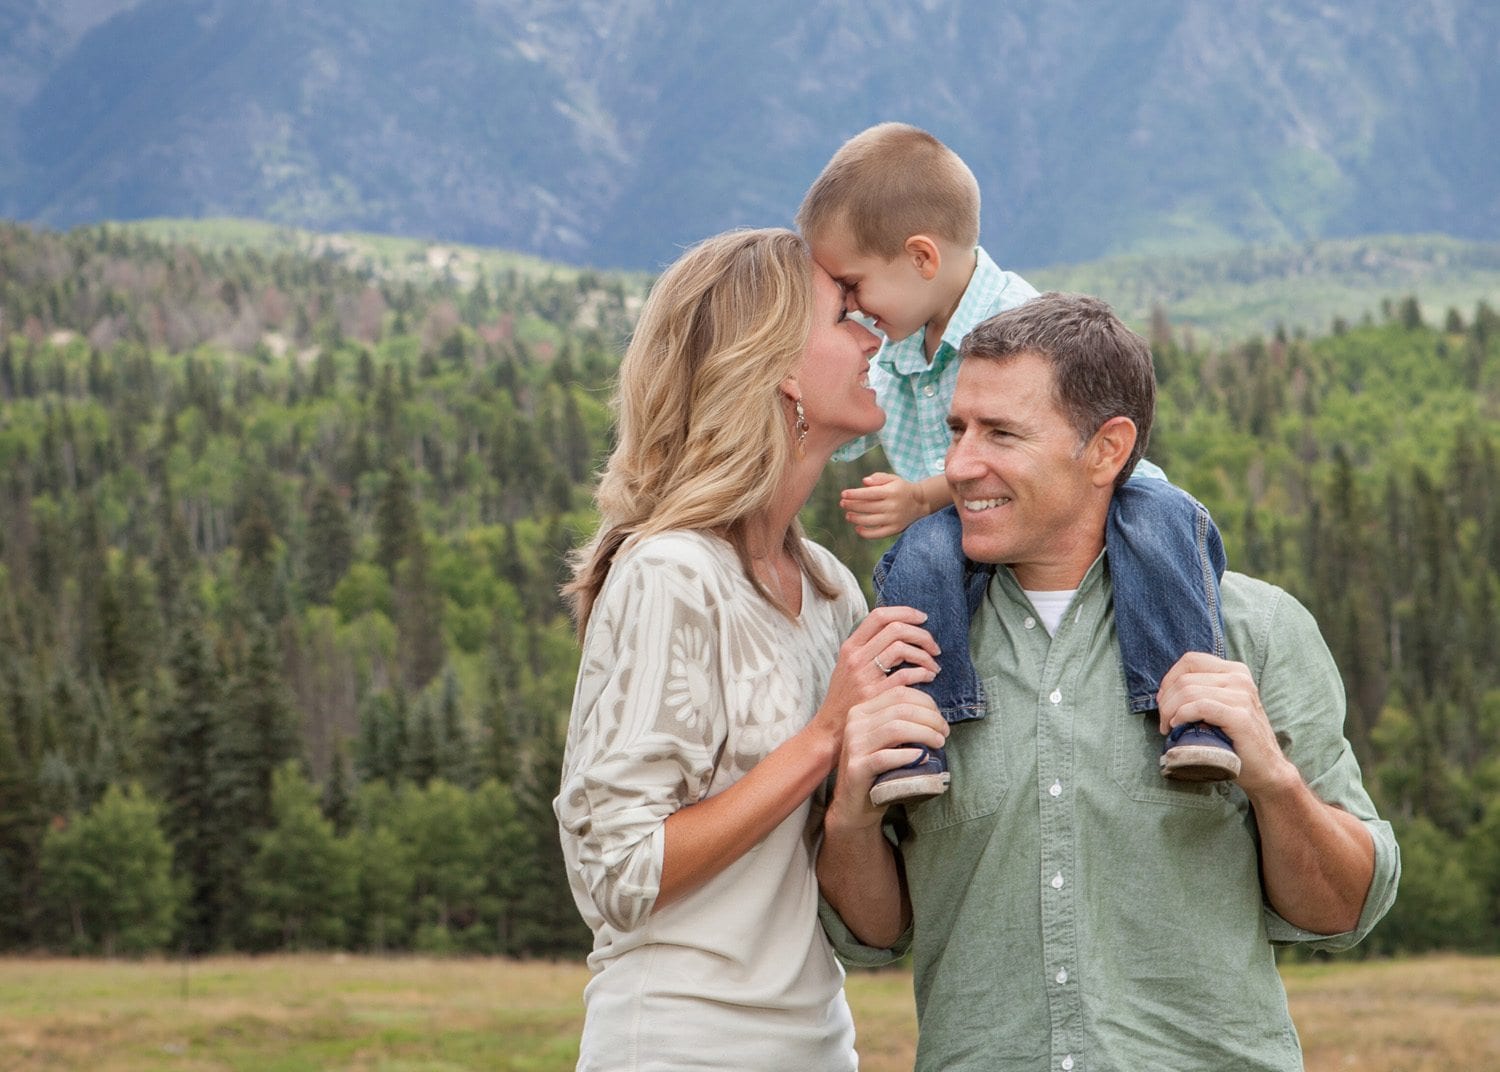
Remember to keep the group’s heads somewhat together. This creates a cohesive focal point for the eye to follow. If the heads are scattered about the image, it’s not only harder to get them all in focus, but it can make the image feel more jumbled.
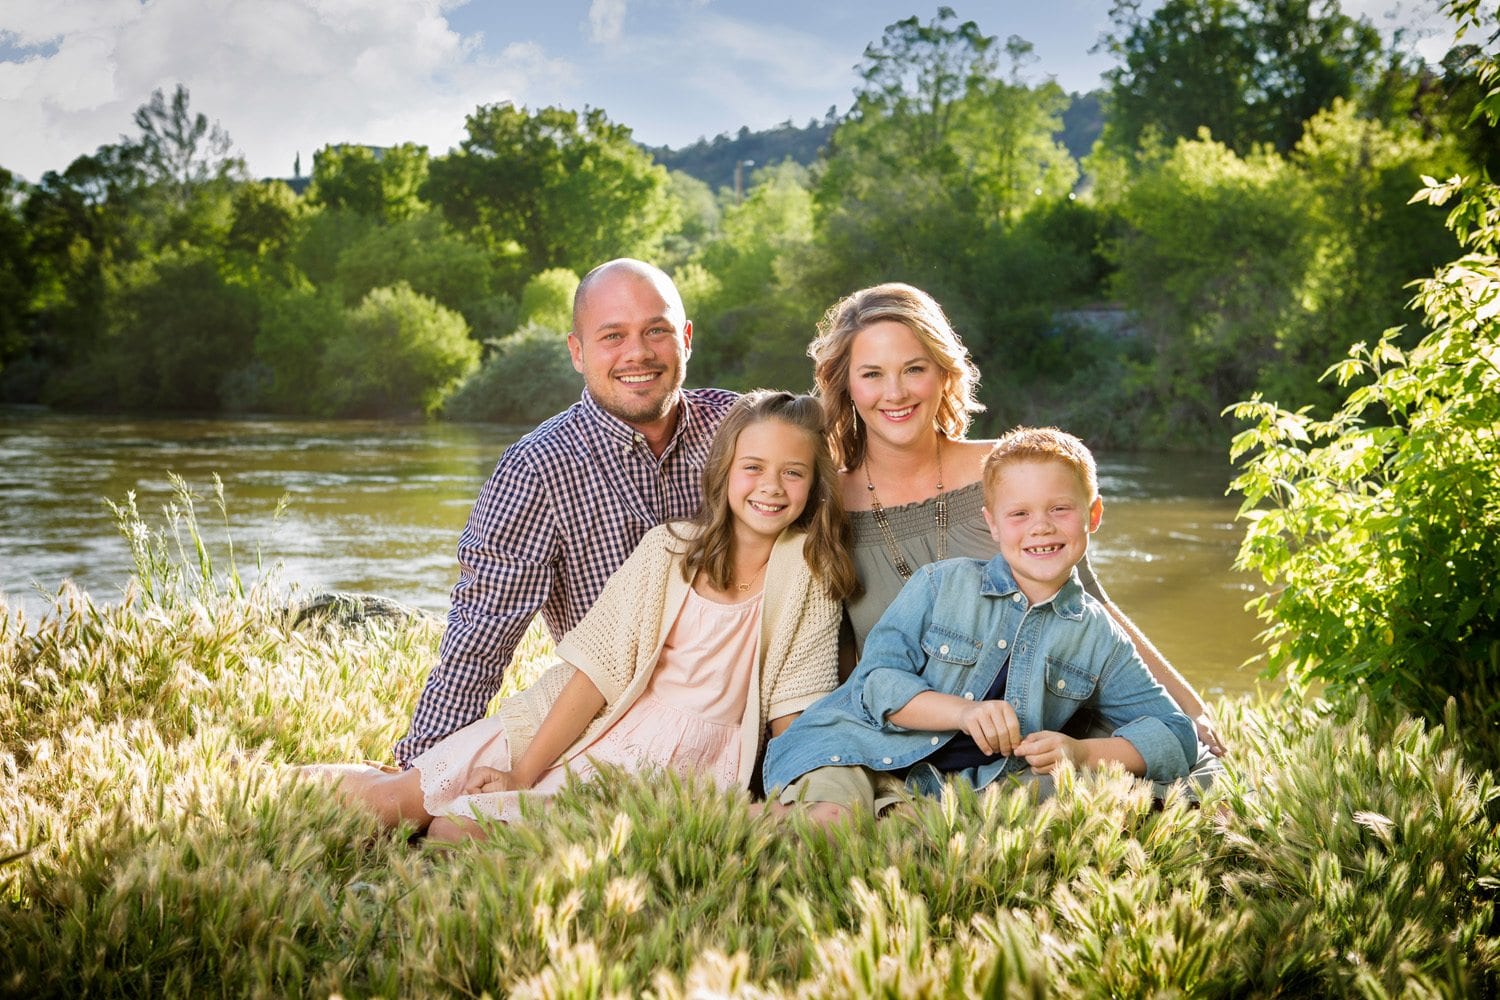
10. Big people in the back, smaller in the front
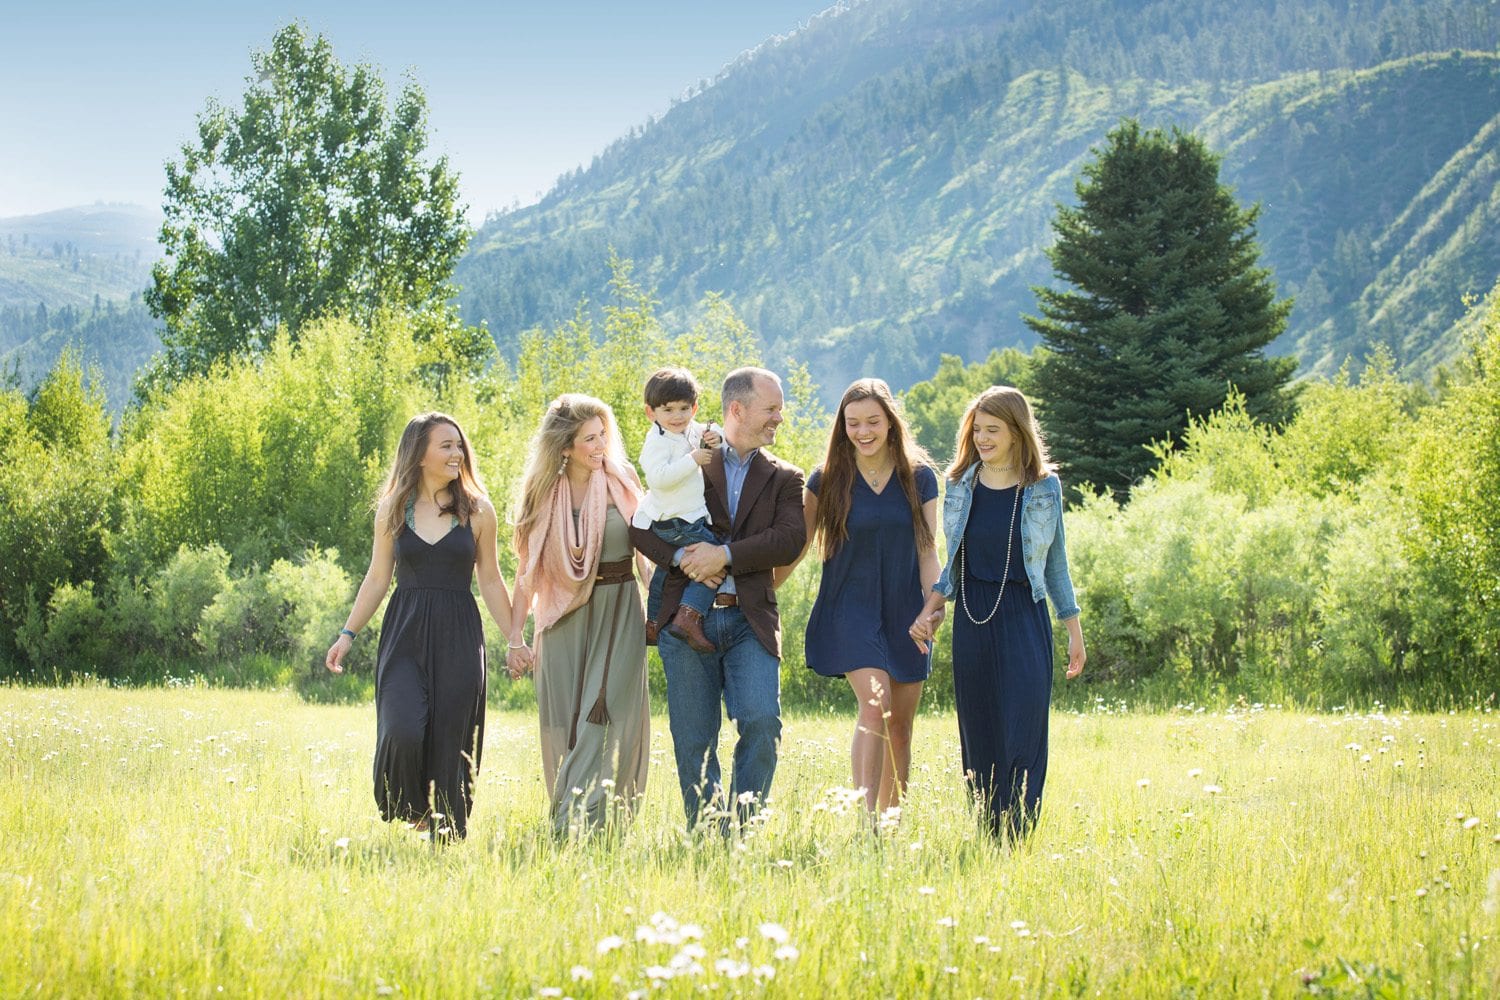
I bet most of you remember this from school class pictures, but it’s super important! When you put the smallest people up front, you make sure they’re seen in the photo. They look bigger because they’re closer to the camera. It’s also really nice to be sensitive and think about the larger folks, by putting them in the back. That way, they look smaller as they’re further away from the camera, and everyone looks just right in the picture. It all comes together to make a really nice, balanced image!
11. Keeping it interesting, create triangles
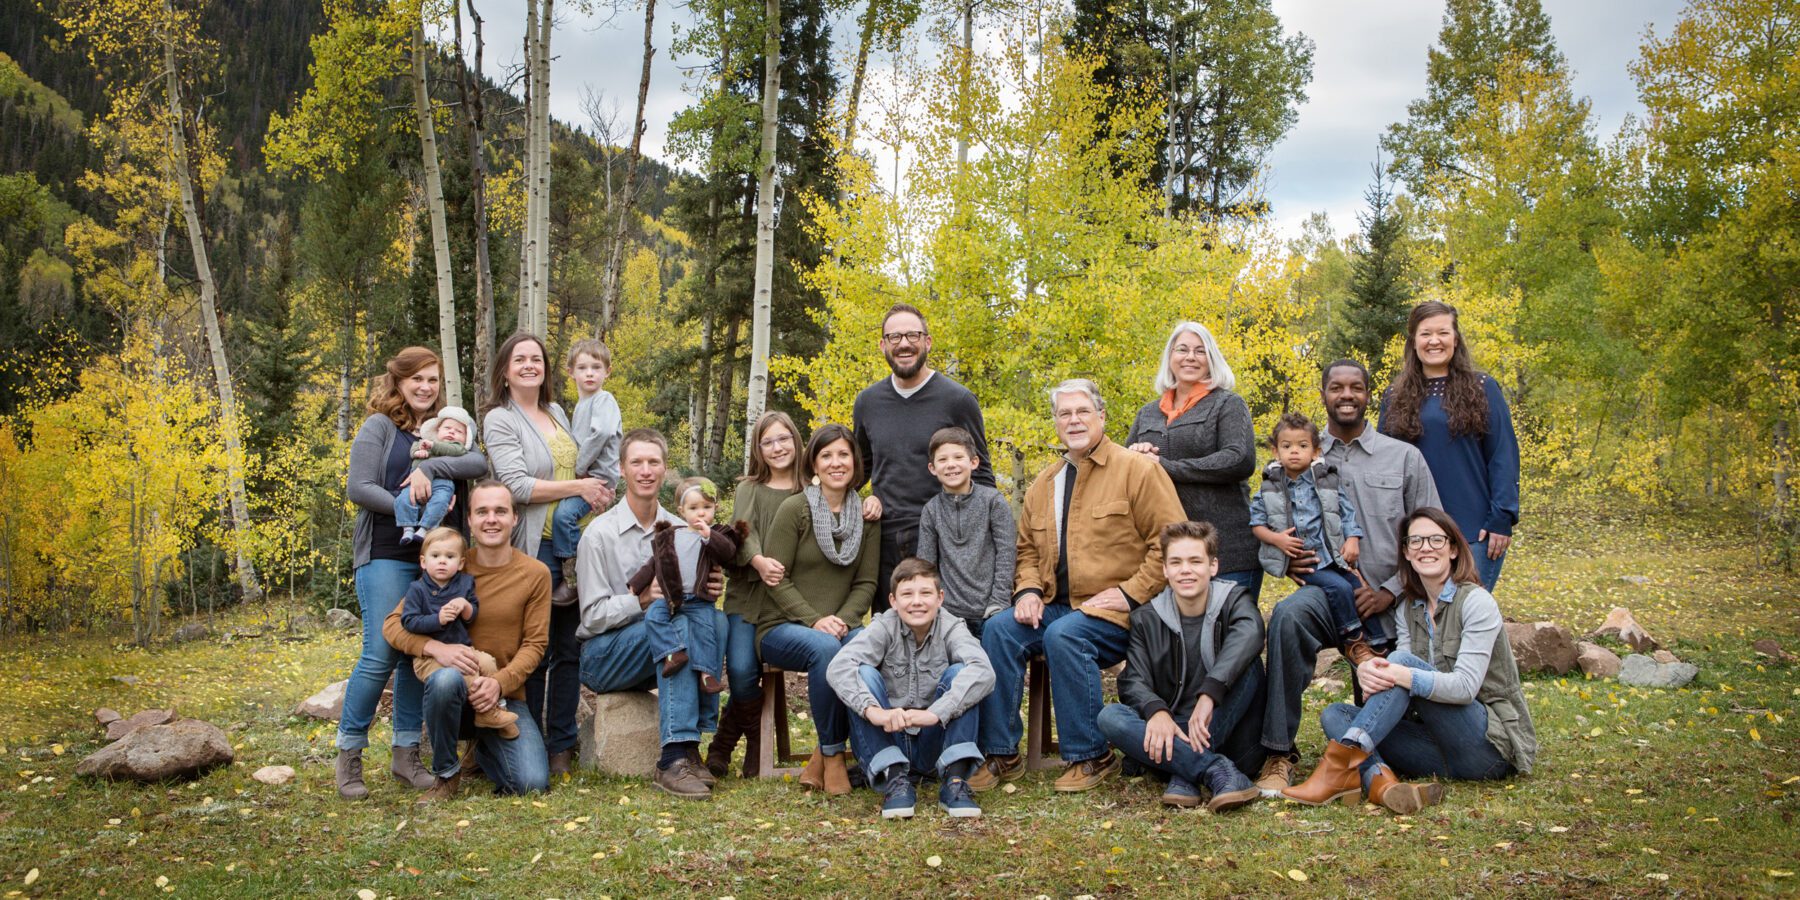
When taking group photos, it’s great to have everyone close together, but having everyone at the same level can be a bit dull. Mix it up by having everyone at different heights, with features like hands, shoulders, and feet appearing at different levels in the image. You can try having some sit, others lie down or even stand on something. This helps create more dynamic and interesting compositions in your photos. The goal is to create triangles and diamonds within the group, making your composition interesting, instead of having everyone in a straight line. It’s all about adding a fun and engaging touch to perfect the pose!

This is a prime example of creating triangles, which naturally help draw the eye and keep the composition interesting.
A skilled photographer must take all of these factors into account when posing their subjects. Variables such as personal style, the purpose of the photo shoot, and the subject’s personality must be considered. Understanding some fundamental rules can help guide you in making these complex decisions in your own photography. This is crucial because, ultimately, the portrait photographer is not a passive observer but rather a keen director of the subject.
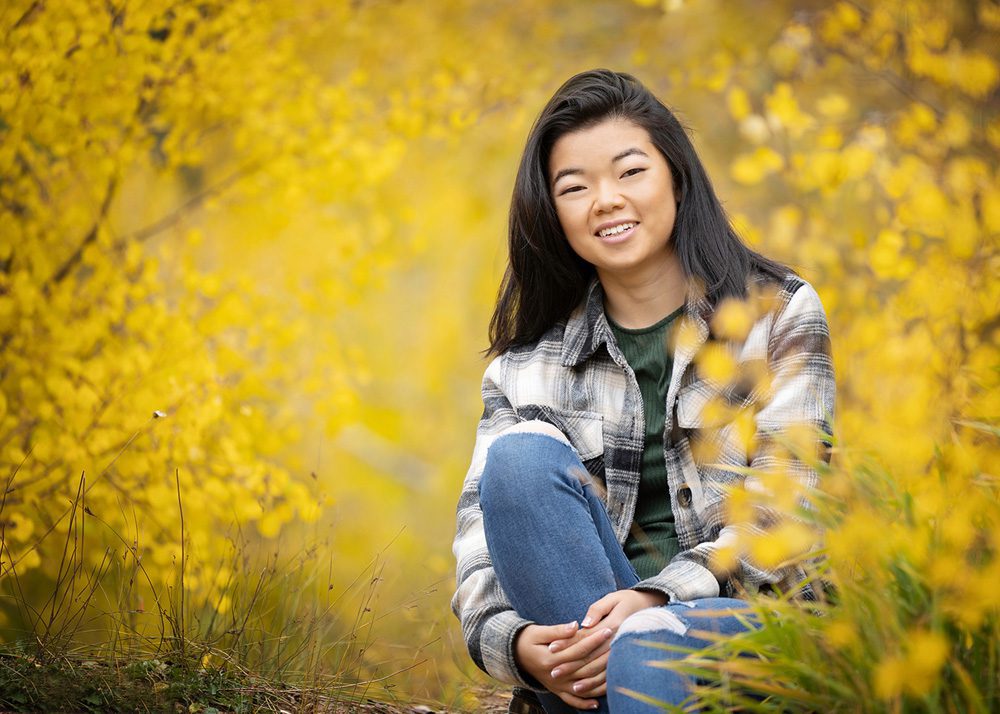
We’ve given you a few examples, but it’s time for you to practice.
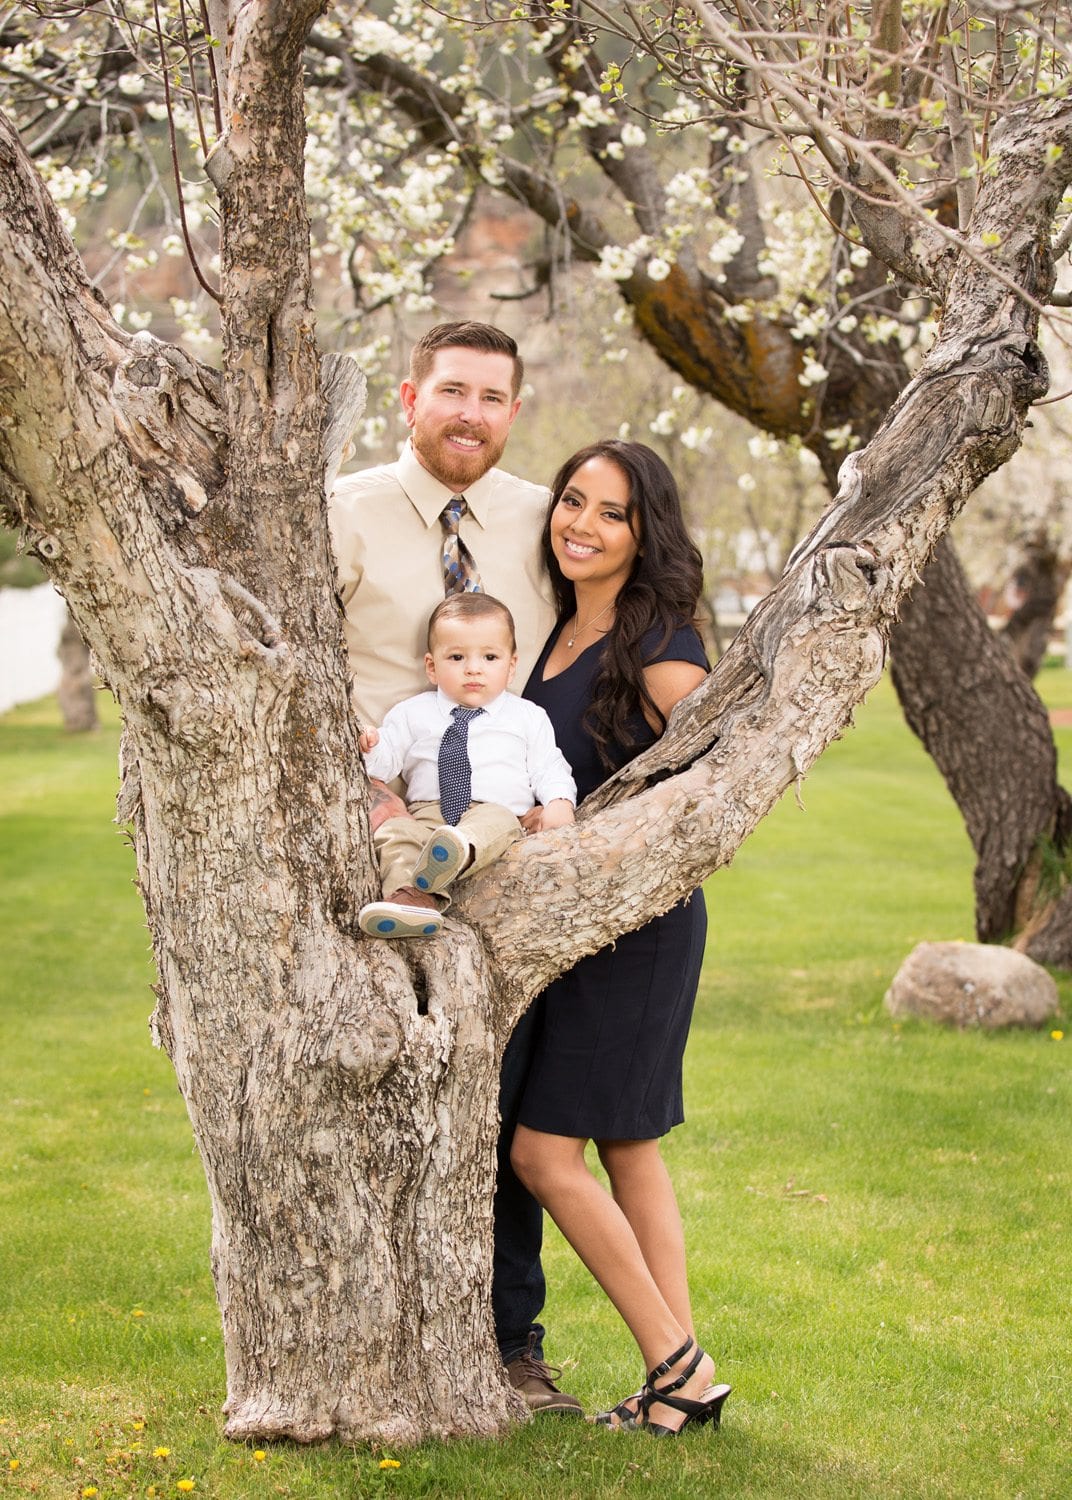
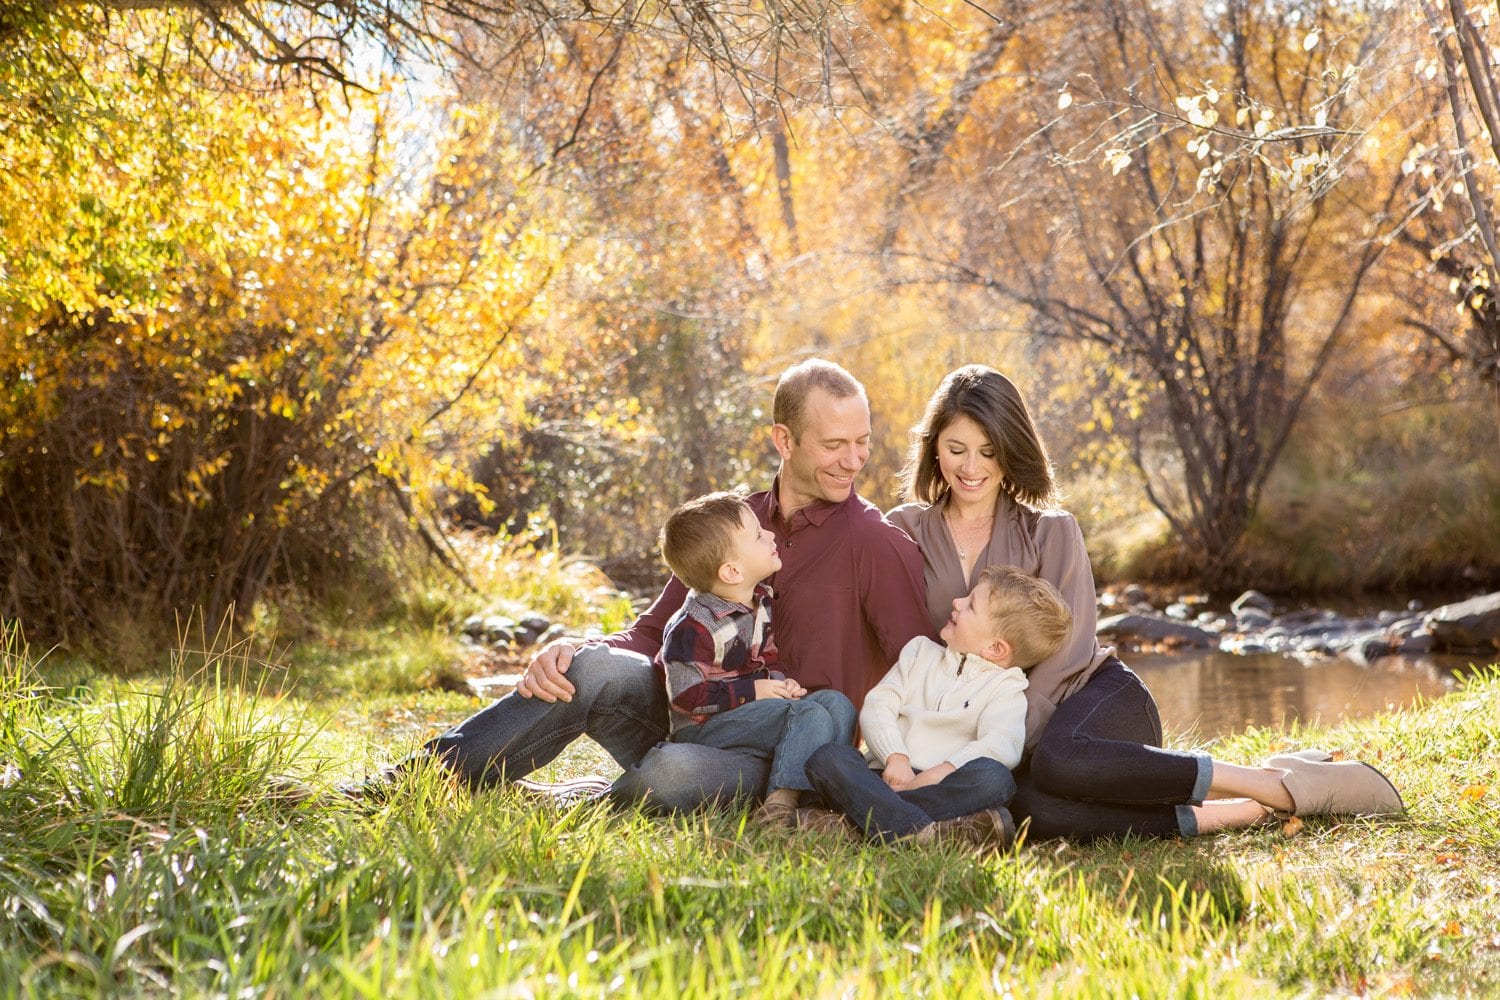
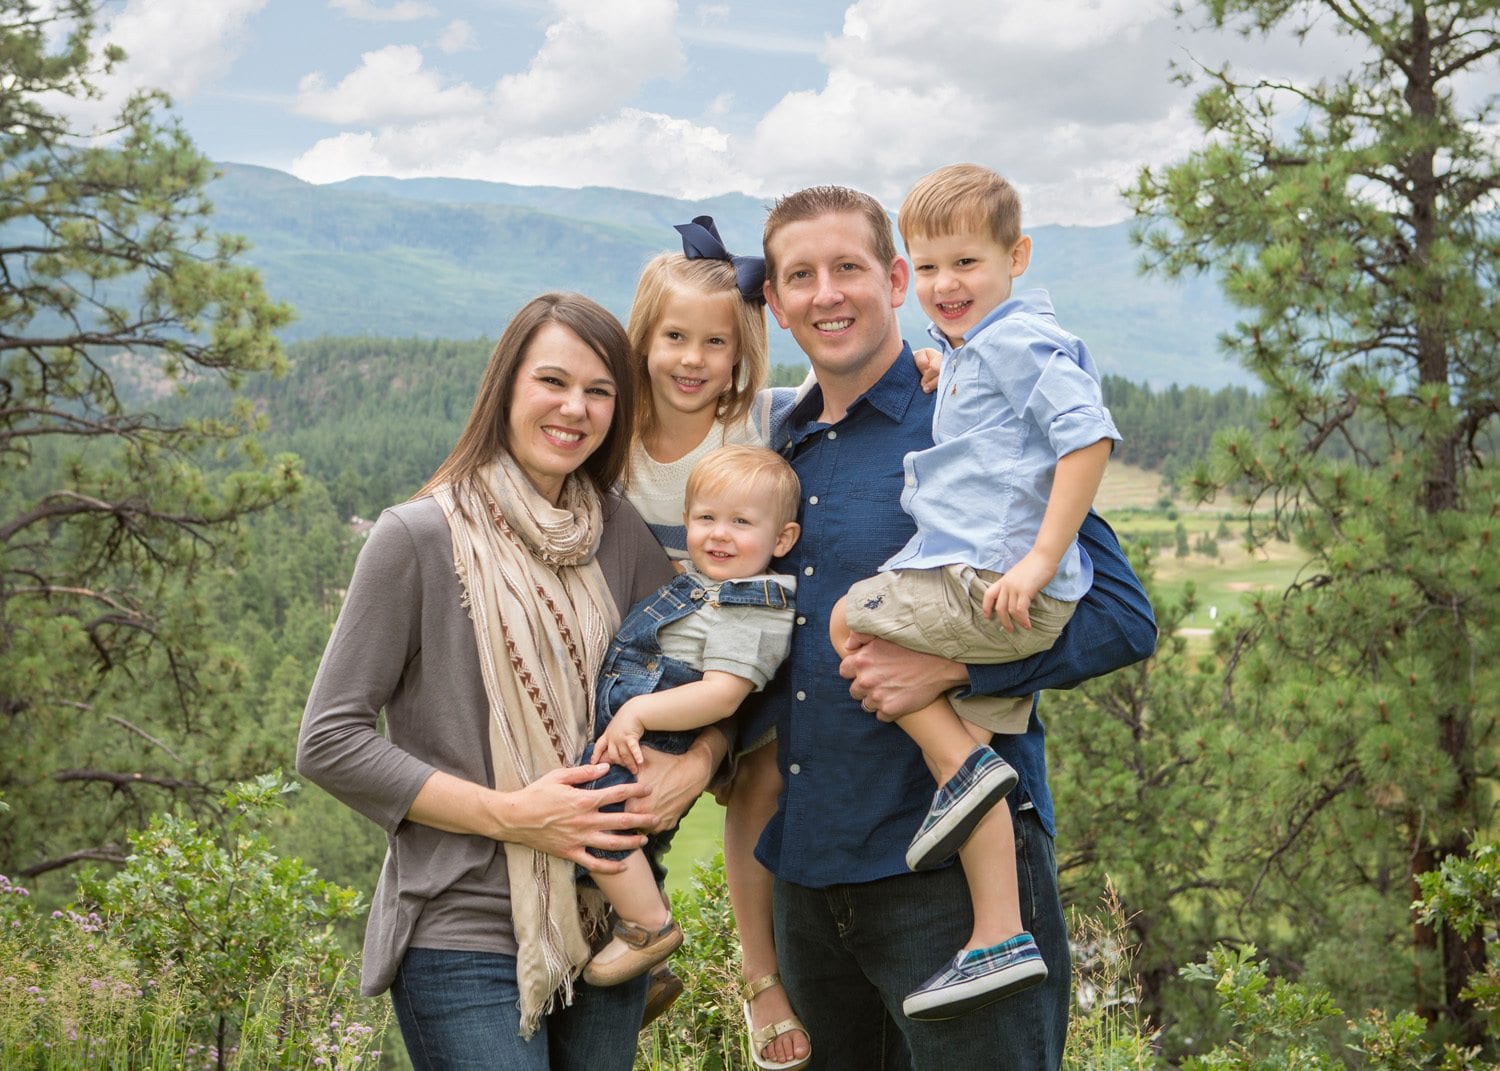
How many of these techniques can you identify below?

